Using heavy images can slow down your website, can cause a bad user experience, and damange your Core Web Vitals. Optimizing your images is one of the most effective ways to improve website performance. In this article, we’ll go through the best practices so your images load quickly.
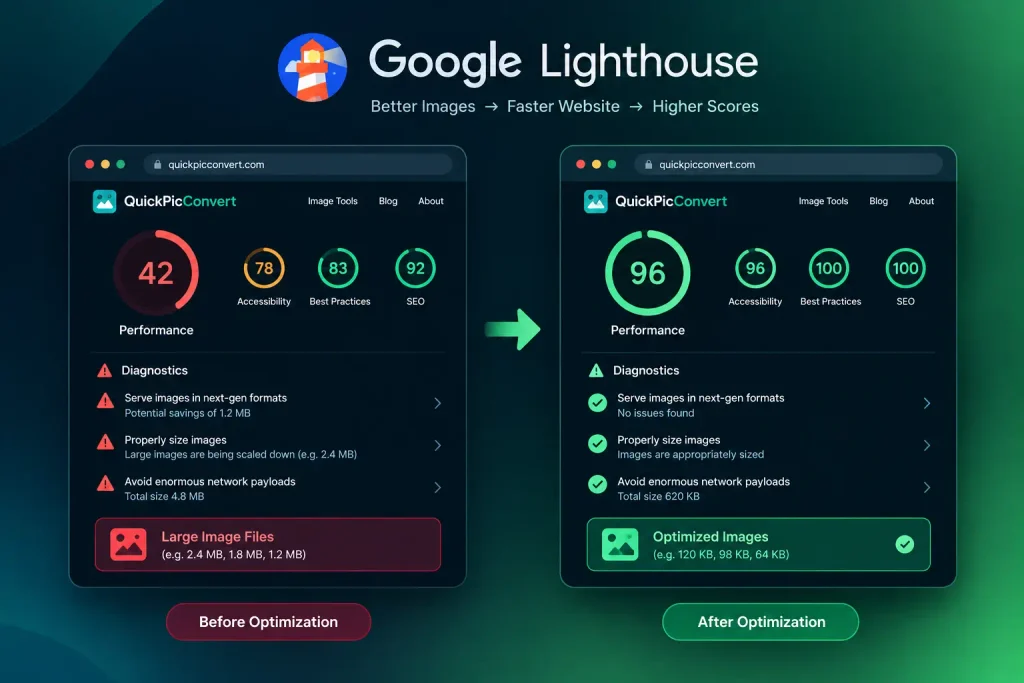
Why Image Optimization Matters
Images make up the biggest part of a page’s total weight. When the images are not optimized, visitors wait longer, bounce more often, and your website search rankings can suffer. Google also uses page speed as a ranking factor, so faster images help both your visitors and your SEO.
How to Optimize Images for Website Page Speed
Slow images are one of the easiest things to fix on a site, and fixing them can massively cut off your page load time. Here’s where to start:
- Shrink your files. Compress images and use modern formats like WebP or AVIF. Smaller files load faster.
- Load the important ones first. Your hero like Logo image, should get priority. Anything below the can wait, so use lazy loading.
- Don’t use big images in HTML or CSS. Inline data like base64 bloats your code and can’t be cached separately.
Avoid Using Huge Files
The simplest way to boost performance is to reduce the size of your images. An uncompressed image can easily be 5 to 10 MB, so a page with several of them could reach 50 or even 100 MB. Very few visitors will wait around for that.
Using the Correct Image Size
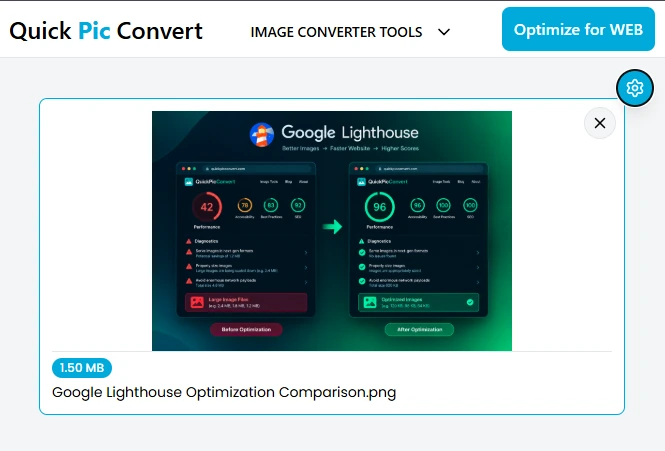
Use the right dimensions. Stick to a standard size like 1266 x 633 pixels for your blog images. It’s big enough to look sharp and small enough to load fast.
- Resize large images. If an image is bigger than 1266 x 633, use an image resizer tool to scale it down before uploading.
- Compress your images. Use an image compression tool to reduce file size without a noticeable drop in quality.
- Convert to WebP. WebP files are much smaller than JPEG or PNG at similar quality.
Compress Your Images
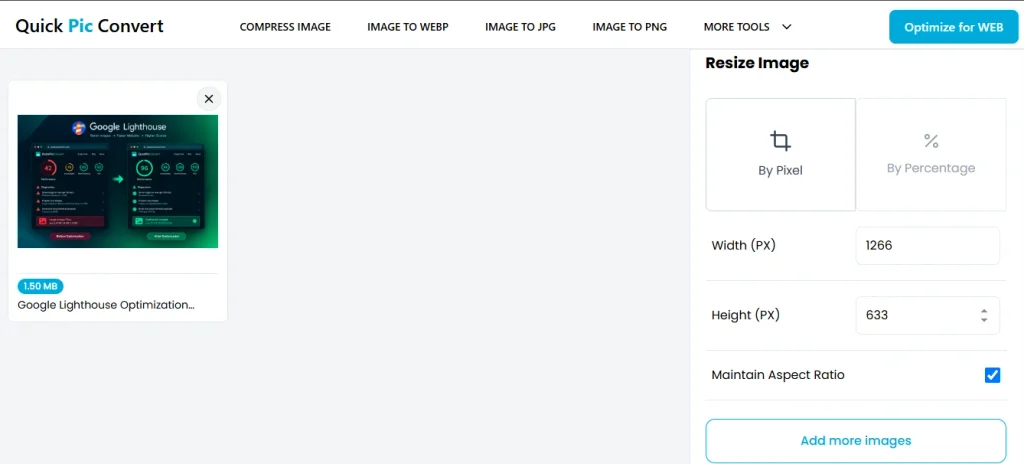
Image compression reduces size by removing data the human eye barely notices. Tools like QuickPicConvert, TinyPNG, or ShortPixel can often cut file size by 50 to 80 percent.
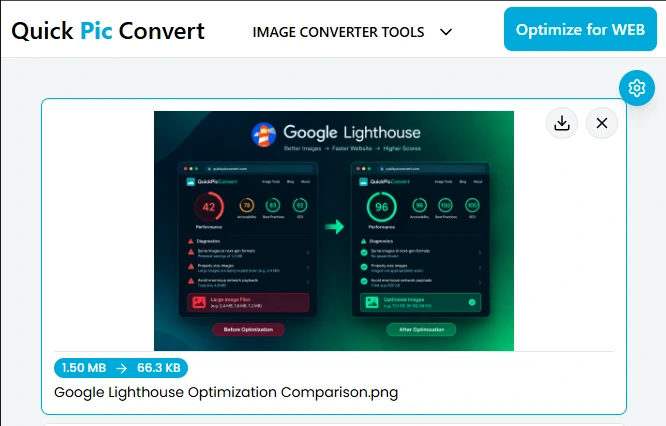
Convert Images to WebP
WebP is a modern format that keeps quality high while keeping files small. It’s supported by all major browsers. You can convert images with free tools like QuickPicConvert or let a plugin do it automatically if you’re on WordPress.
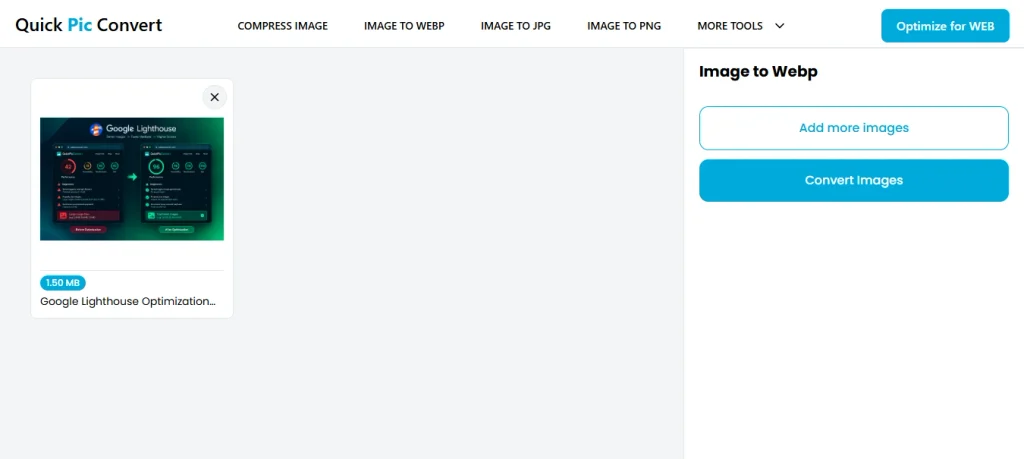
Use Lazy Loading
Lazy loading tells the browser to load images only when the visitor scrolls near them. This makes the first screen appear faster and saves bandwidth. In HTML, it’s as simple as adding loading=”lazy” to your image tag. Just don’t lazy load your hero image, since that one should load right away.
Set Width and Height for Images
When you define width and height, the browser reserves space for the image before it loads. This stops the page from jumping around, which improves your Cumulative Layout Shift (CLS) score.
Use Caching and a CDN
Caching lets returning visitors reuse images they’ve already downloaded instead of loading them again. A CDN (Content Delivery Network) goes a step further by serving images from a server close to the visitor, which makes loading faster worldwide.
Conclusion
Image optimization doesn’t have to be complicated. Resize your images, compress them, convert them to WebP, and add lazy loading, and you’ll see a real improvement in speed and user experience. Start with your biggest images first, and test your page with Google PageSpeed Insights to see the difference.